原创内容,转载请注明原文网址:http://homeqin.cn/a/wenzhangboke/jishutiandi/youxikaifa/2019/0325/425.html
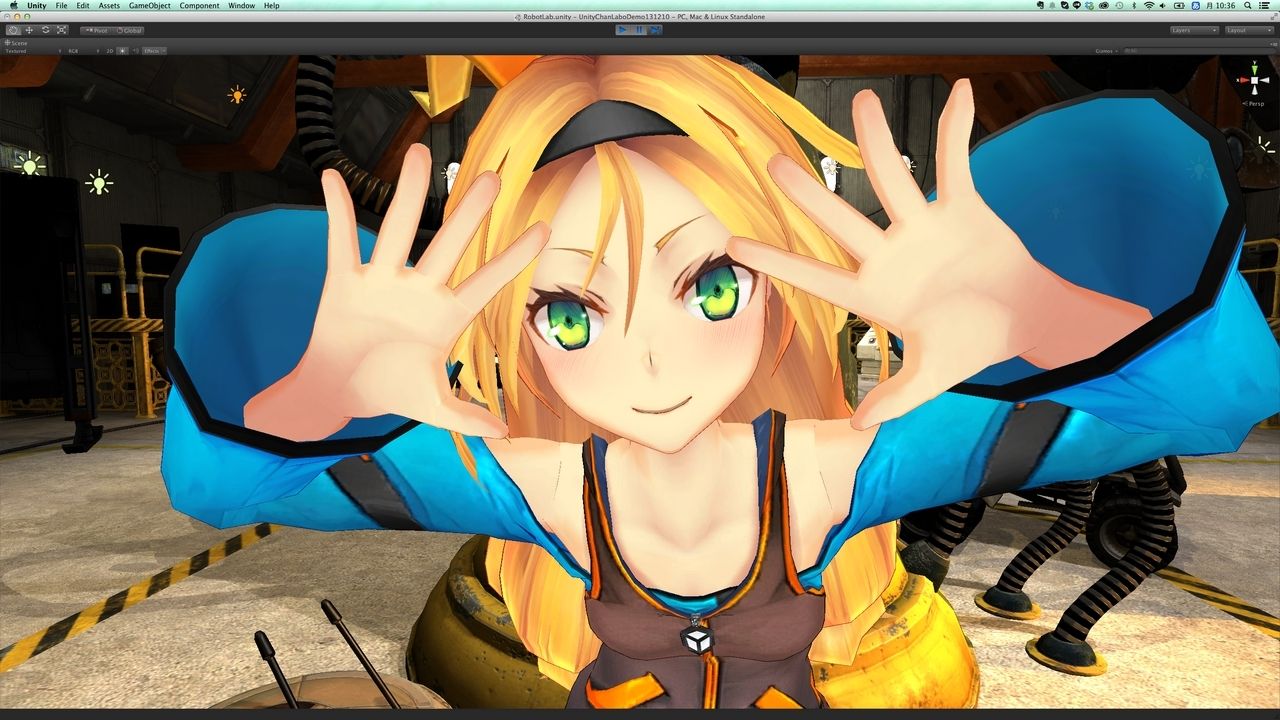
径向模糊效果shader
这效果在战神3中切换场景时见过, 山脊赛车3的运动含糊也有这种觉得.
原理:
肯定一个中心点(如0.5, 0.5), 跟当前像素连一条线. 以当前像素为中心, 在线上的左近像素停止采样, 最后常州微信公众平台取一下均匀值.
代码翻译成HLSL:
复制代码
// This texture should hold the image to blur.
sampler2D Texture0;
// some const, tweak for best look
const float fSampleDist;
const float fSampleStrength;
// some sample positions
float samples[10] =
{
-0.08,
-0.05,
-0.03,
-0.02,
-0.01,
0.01,
0.02,
0.03,
0.05,
0.08
};
float4 ps_main( float2 texCoord : TEXCOORD0 ) : COLOR
{
// 0.5,0.5 is the center of the screen
// so substracting uv from it will result in
// a vector pointing to the middle of the screen
float2 dir = 0.5 - texCoord;
// calculate the distance to the center of the screen
float dist = length(dir);
// normalize the direction (reuse the distance)
dir /= dist;
// this is the original colour of this pixel
// using only this would result in a nonblurred version
float4 color = tex2D(Texture0, texCoord);
float4 sum = color;
// take 10 additional blur samples in the direction towards
// the center of the screen
for (int i = 0; i < 10; ++i)
{
sum += tex2D(Texture0, texCoord + dir * samples[i] * fSampleDist);
}
// we have taken eleven samples
sum /= 11.0;
// weighten the blur effect with the distance to the
// center of the screen ( further out is blurred more)
float t = saturate(dist * fSampleStrength);
//Blend the original color with the averaged pixels
return lerp(color, sum, t);
}
复制常州微信小程序开发代码
Unity shaderLab:
复制代码
//径向含糊后处置
Shader "RadialBlur" {
Properties {
_MainTex ("Base (RGB)", 2D) = "white" {}
_fSampleDist("SampleDist", Float) = 1 //采样间隔
_fSampleStrength("SampleStrength", Float) = 2.2 //采样力度
}
SubShader {
Pass {
ZTest Always Cull Off ZWrite Off
Fog { Mode off }
CGPROGRAM
#pragma vertex vert
#pragma fragment frag
#include "UnityCG.cginc"
struct appdata_t {
float4 vertex : POSITION;
float2 texcoord : TEXCOORD;
};
struct v2f {
float4 vertex : POSITION;
float2 texcoord : TEXCOORD;
};
float4 _MainTex_ST;
v2f vert (appdata_t v)
{
v2f o;
o.vertex = mul(UNITY_MATRIX_MVP, v.vertex);
o.texcoord = TRANSFORM_TEX(v.texcoord, _MainTex);
return o;
}
sampler2D _MainTex;
float _fSampleDist;
float _fSampleStrength;
// some sample positions
static const float samples[6] =
{
-0.05,
-0.03,
-0.01,
0.01,
0.03,
0.05,
};
half4 frag (v2f i) : SV_Target
{
//0.5,0.5屏幕中心
float2 dir = float2(0.5, 0.5) - i.texcoord;//从采样中心到uv的方向向量
float2 texcoord = i.texcoord;
float dist = length(dir);
dir = normalize(dir);
float4 color = tex2D(_MainTex, texcoord);
float4 sum = color;
// 6次采样
for (int i = 0; i < 6; ++i)
{
sum += tex2D(_MainTex, texcoord + dir * samples[i] * _fSampleDist);
}
//求均值
sum /= 7.0f;
//越离采样中心近的中央,越不含糊
float t = saturate(dist * _fSampleStrength);
//常州网站开发建设插值
return lerp(color, sum, t);
}
ENDCG
}
}
Fallback off
}
复制代码
两个参数, 动态调整的话能够产生山脊赛车3那种速度感(也算是第一人称运动含糊的简单完成吧).
上篇:上一篇:Unity3d Singleton与对象pool
下篇:下一篇:常州手游-UGUI异步加载场景进度条