原创内容,转载请注明原文网址:http://homeqin.cn/a/wenzhangboke/jishutiandi/youxikaifa/2018/1019/99.html
Unity对屏幕特定部分进行后期特效处理
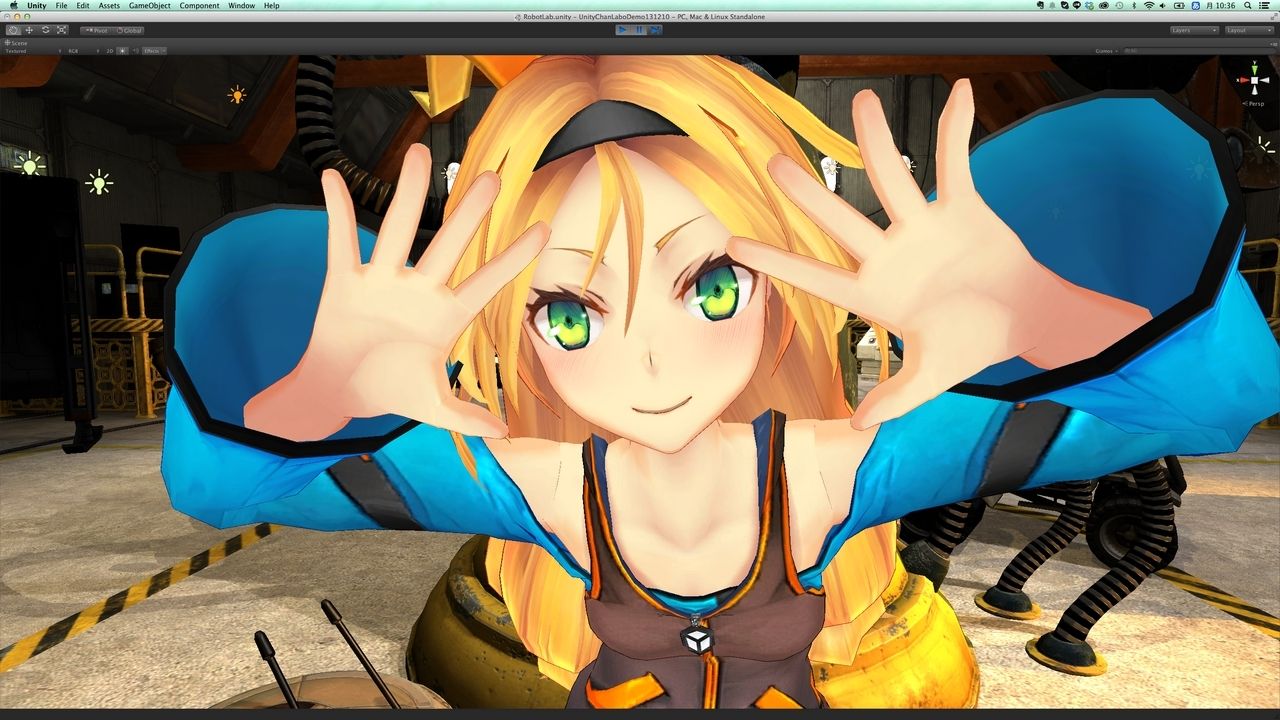
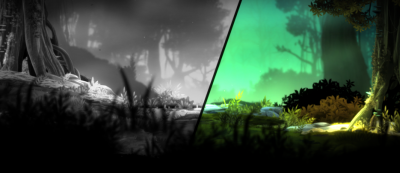
最近我们常州游戏开发培训工作室幻天网络在做一个效果:用一条线将整个屏幕分成两部分,一部分是灰色,一部分是彩色,线的位置是可变的
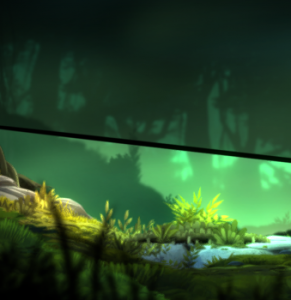
如果只是区分的话,简单的方法就是相机前加一个灰色quad,如下图,但明显不如灰化对比度高
下面就来实现下在unity中对屏幕特定部分进行后期特效处理。
首先,我们要建一个屏幕特效脚本挂在到相机上
using System;
using UnityEngine;
namespace UnityStandardAssets.ImageEffects
{
[ExecuteInEditMode]
[RequireComponent (typeof(Camera))]
class SimplePostEffect : PostEffectsBase
{
public Shader TintShader = null;
public Color TintColour;
private Material TintMaterial = null;
public override bool CheckResources ()
{
CheckSupport (true);
TintMaterial = CheckShaderAndCreateMaterial (TintShader);
if (!isSupported)
ReportAutoDisable ();
return isSupported;
}
void OnRenderImage (RenderTexture source, RenderTexture destination)
{
if (CheckResources()==false)
{
Graphics.Blit (source, destination);
return;
}
TintMaterial.SetColor("TintColour", TintColour);
//Do a full screen pass using TintMaterial
Graphics.Blit (source, destination, TintMaterial);
}
}
}
Graphics.Blit 位块传送,拷贝源纹理到目的渲染纹理。可简单理解为获取该相机的rendertexture作为纹理,通过指定shader再渲染一遍。
setvector函数用作将横线上两点坐标传入材质。
setab即为将y=ax+b形式的a,b传入,并指明a是否有意义,因为当直线形式为x=某数字时,a无意义。
具体计算如下:
void
Calculate()
{
wpLeft = portTrans.TransformPoint (new
Vector3 (-10f, 0f, 0f));//porttrans为横线中心trans
wpRight = portTrans.TransformPoint (new
Vector3 (10f, 0f, 0f));
vpLeft = mainCamera.WorldToViewportPoint (wpLeft);
vpRight = mainCamera.WorldToViewportPoint (wpRight);
if
(vpLeft.x != vpRight.x) {
va = (vpRight.y - vpLeft.y) / (vpRight.x - vpLeft.x);
vb = vpLeft.y - vpLeft.x * va;
wb = wpLeft.y - wpLeft.x * va;
hasA = 1f;
} else
{
va = vb = hasA = 0f;
}
}
void
SetMaterial()
{
grayEffect.SetVector (vpLeft, vpRight);
grayEffect.SetAB (va,vb,hasA);
}
shader就是一个转彩色为灰度的shader,增加了判断片原位于哪个区域的功能,判断区域的代码可以根据需求更改
Shader "Custom/Tint"
{
Properties
{
_MainTex ("", any) = ""
{}
_Line ("line", Vector) = (0,0,0,0)
_ab ("ab", Vector) = (0,0,0)
}
CGINCLUDE
#include "UnityCG.cginc"
struct
v2f
{
float4 pos : SV_POSITION;
float3 wPos : TEXCOORD1;
float2 uv : TEXCOORD0;
};
sampler2D _MainTex;
float4 _Line;
float3 _ab;
float4 TintColour;
v2f vert( appdata_img v )
{
v2f o = (v2f)0;
o.pos = mul(UNITY_MATRIX_MVP, v.vertex);
o.wPos = v.vertex;
o.uv = v.texcoord;
return
o;
}
float4 frag(v2f input) : SV_Target
{
float4 c = tex2D(_MainTex, input.uv);
bool
isGray = false;
if(_ab.z==0)
{
if(_Line.y>_Line.w&&input.wPos.x>_Line.x)
{
isGray = true;
}
if(_Line.y<_Line.w&&input.wPos.x<_Line.x)
{
isGray = true;
}
}
else
{
float
ey = _ab.x*input.wPos.x + _ab.y;
if(_Line.x<_Line.z&&input.wPos.y>ey)
{
isGray = true;
}
if(_Line.x>_Line.z&&input.wPos.y<ey)
{
isGray = true;
}
}
if(isGray)
{
float
gray = dot(c.xyz, float3(0.299, 0.587, 0.114));
c.xyz = float3(gray,gray,gray);
}
dot(c.xyz, float3(0.299, 0.587, 0.114))就是把彩色信息转化成灰度信息的数学公式,即为x,y,z对应乘0.299 0.587,0.114
优化shader,去除if语句
float4 c = tex2D(_MainTex, input.uv);
float
ey = _ab.x*input.wPos.x + _ab.y;
bool
b1 = _Line.y>_Line.w&&input.wPos.x>_Line.x;
bool
b2 = _Line.y<_Line.w&&input.wPos.x<_Line.x;
bool
b3 = _Line.x<_Line.z&&input.wPos.y>ey;
bool
b4 = _Line.x>_Line.z&&input.wPos.y<ey;
bool
a1 = (_ab.z==0)&&(b1||b2);
bool
a2 = (_ab.z!=0)&&(b3||b4);
bool
d = a1||a2;
float
gray = dot(c.xyz, float3(0.299, 0.587, 0.114));
c.xyz *= (!d);
c.xyz += float3(gray,gray,gray)*d;
这样就可以对屏幕特定部分进行后期特效处理了。
上篇:上一篇:unity3d Resources.Load动态加载资源
下篇:下一篇:UGUI之Selectable功能详解(UI动画)