原创内容,转载请注明原文网址:http://homeqin.cn/a/wenzhangboke/jishutiandi/Android/2019/0822/611.html
如今,要实现导航功效方案有良多。好比常州微信小程序开发:
1、用3.0+自带的Toolbar + Fragment导航。
2、用Tabhost实现导航。小弟学浅,就只用过这两种方案实现导航。
但是这两种方案都有一个很明显的短处:导航的位置太过于固定了。好比Toolbar的就只能在标题栏处(ps:源码点窜大神跳过)。另有Tabhost,固然自定义Tabhost比干脆秉承TabActivity加倍灵活,但是却没有选项切换动画(ps:也能够是我没发现)。
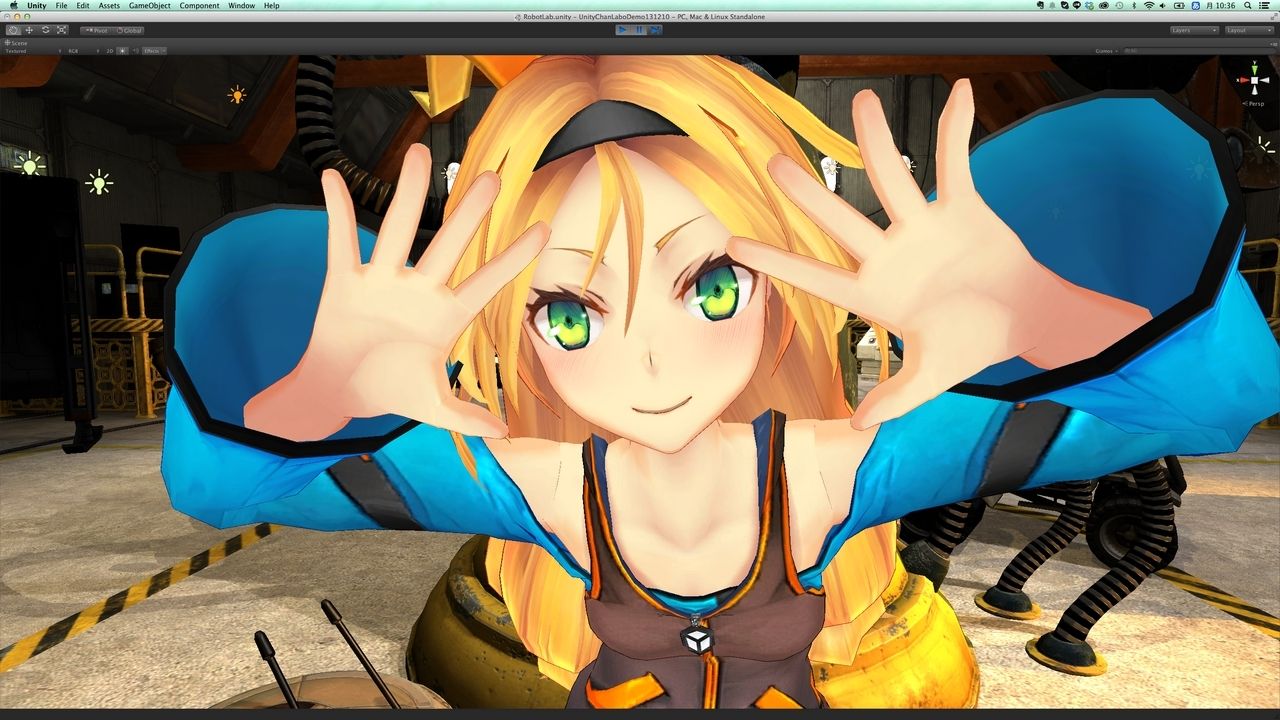
偶然候,咱们仅仅是想在一个画面的一角处,贴上一个导航,用于切换导航啊,属性配置以内的。这个时分不论Toolbar照旧Tabhost都有些大材小用,心有余而力不足的感受了。好比下图所示:
近来恰好项目有这方面的必要,就查了点材料。发现道理实在挺简单的,以下图:
上头几个tab用Button大约TextView来做就行,归正能响应点击就行。底下的ImageView用于切换动画,好比默认是tab1,这个时分点击了tab3,辣么底下的ImageView就从tab1挪动到tab3而且停顿。
道理评释白以后,接下来即是详细的实现了,普通这类必要都能有两种体例实现:
用xml中实现
用java代码动静实现。
常州网站开发建设Xml界面与java代码掌握分别辨别是Android开辟的亮点,也是无数入门册本的叩门砖,但是这种实现就有一种非常大的局限性:今天这个项目有3个tab,翌日的项目有4个tab,这个时分必要去改xml不说,还要去改少许底层实现,好比对ImageView的宽度的收缩等等。为了移植性和拓展性,我选定了java代码实现,干脆subClass LinearLayout来实现。我只做了少许根基的操纵,朋友们能够在我的代码上增加本人的操纵,好比给每一个tab增加selector,增加事件回调等等。先上图,我的非常精简实现:
中间的挪动是有动画结果的哈,不是干脆点哪儿就发现在哪儿,太僵硬了。
接下来疏解详细的实现历程:
子类化LinearLayout,固然也能够选定子类化其余ViewGroup,看个人醉心。
public class CustomMenu extends LinearLayout implements OnClickListener
在attrs.xml文件中说明自定义xml属性
<?xml version="1.0" encoding="utf-8"?>
<resources>
<declare-styleable name="CustomMenu">
<attr name="buttonNumber" format="integer" />
<attr name="indexbitmap" format="reference" />
<attr name="buttonHeight" format="dimension" />
</declare-styleable>
</resources>
其中buttonNumber:导航的tab个数
indexbitmap:挪动的图片,即是底下那一横线
buttonHeight:导航的高度
在xml结构文件增加结构,layout_width与layout_height能够随便使用match_parent、wrap_content、大约限制dp
<LinearLayoutxmlns:android="http://schemas.android.com/apk/res/android"
xmlns:custommenu="http://schemas.android.com/apk/res/com.example.fragmentdemo"
android:layout_width="match_parent"
android:layout_height="match_parent"
android:orientation="vertical" >
<TextView
android:layout_width="match_parent"
android:layout_height="30dp"
android:text="@string/hello_world" />
<com.example.fragmentdemo.fragmentmenu.CustomMenu
android:layout_width="match_parent"
android:layout_height="0dp"
android:layout_weight="1"
custommenu:buttonNumber="5"
custommenu:buttonHeight="40dp"
custommenu:indexbitmap="@drawable/a"
>
</com.example.fragmentdemo.fragmentmenu.CustomMenu>
<TextView
android:layout_width="match_parent"
android:layout_height="wrap_content"
android:text="@string/hello_world" />
</LinearLayout>
为了突出随便性,存心在高低增加了两个TextView,layout_width与layout_height能够配置为match_parent、wrap_content大约30dp等等。在xml属性中,我将导航栏的数目配置为5个,导航栏的高度为40dp,导航的挪动图片为drawable
在游戏开发运营java代码中首先读取自定义的xml属性值
private void readXML(Context context,AttributeSet attr){
TypedArray a = context.obtainStyledAttributes(attr, R.styleable.CustomMenu);
//读取按钮数目
buttonNumber = a.getInt(R.styleable.CustomMenu_buttonNumber, 4);
//读取按钮的高度
buttonHeight = (int) a.getDimension(R.styleable.CustomMenu_buttonHeight, 30);
//读取图片
int bitmapID = a.getResourceId(R.styleable.CustomMenu_indexbitmap, R.drawable.a);
bitmap = BitmapFactory.decodeResource(getResources(), bitmapID);
bitmap_width = bitmap.getWidth();
a.recycle();
}
注释曾经写得很清楚了,即是用来读取在xml中自定义的属性,这儿留意buttonNumber、buttonHeight、bitmap、bitmap_width都是成员属性。
增加几个tab,个数是凭据buttonNumber限制了的,另有tab的高度也是凭据buttonHeight限制了的。
//配置本人为竖直方向
setOrientation(LinearLayout.VERTICAL);
//增加一个横向的LinearLayout,高度为配置的高度
LayoutParams p = new LayoutParams(LayoutParams.MATCH_PARENT, buttonHeight);
LinearLayout linearLayout = new LinearLayout(context);
linearLayout.setOrientation(LinearLayout.HORIZONTAL);
linearLayout.setPadding(0, 0, 0, 0);
linearLayout.setGravity(Gravity.CENTER);
addView(linearLayout, p);
//向这个横向的LinearLayout增加指定个Button
LayoutParams btn_p = new LayoutParams(LayoutParams.MATCH_PARENT, buttonHeight, 1);
for(int i = 0;i<buttonNumber;i++){
Button button = new Button(context);
button.setText("按钮"+i);
button.setTextSize(15);
button.setBackgroundColor(getResources().getColor(R.color.defaultColor));
button.setId(ID+i);
button.setOnClickListener(this);
//增加到容器
button_container.add(button);
//增加到结构
linearLayout.addView(button, btn_p);
}
这儿首先增加一个横向的LinearLayout用来增加tab,高度用用户输入的值,然后增加用户指定命目标tab(Button),配置权重(weight)为1。在这儿我把Button的笔墨、布景色彩等都给了默认值,朋友们能够在xml中拓展,大约在代码中露出要领让用户配置。这儿有一个ID,我给了默认值
private static final int ID = 0xcc33cc;
这是为了辨别onClick事件,朋友们能够本人选定辨别体例,但是在这里用ID是有甜头的,背面我会介绍。
增加ImageView,暂时不做处理,由于Bitmap要由于tab的宽度来动静调整
imageView = new ImageView(context);
LayoutParams iv_p = new LayoutParams(LayoutParams.WRAP_CONTENT, LayoutParams.WRAP_CONTENT);
iv_p.setMargins(0, 5, 0, 0);
addView(imageView,iv_p);
这里只是放置一个ImageView,详细的内容要比及背面配置,由于内容是动静的,在组织函数时代不行断定其宽高。
在onMearsure要领中,获得本View的宽度与高度
protected void onMeasure(int widthMeasureSpec, int heightMeasureSpec) {
super.onMeasure(widthMeasureSpec, heightMeasureSpec);
//只实行这个要领一次
if(width==0 || height==0){
//得到常州手游开发本人的高度与高度
width = MeasureSpec.getSize(widthMeasureSpec);
height = MeasureSpec.getSize(heightMeasureSpec);
//做其余的初始化
initial();
}
}
朋友们都晓得,onMeasure要领会凭据传入的参数断定控件的大小。普通在这个要领做控件的动静伸缩和子控件的伸缩。在这里,我只是简单的得到了本控件的宽度和高度。Width和height都是成员变量。这里用了if语句是由于这个要领默认会实行两次,缘故呢大约是作为ViewGroup刚首先会绘制一次,添补子控件后又会绘制一次,详细的不太清楚,朋友们能够查查其余材料。这里用if限制只实行一次。然后在initial()要领中,做剩下的初始化片面。
做少许初始化操纵
//如果图片的宽度比按钮的宽度大,则对图片进行处理
if(bitmap_width>width/buttonNumber){
//收缩图片
bitmap = dealBitmap(bitmap, (float) (width)/buttonNumber/bitmap_width);
}
private Bitmap dealBitmap(Bitmap bitmap ,float bili) {
Matrix matrix = new Matrix();
matrix.postScale(bili, bili); // 长和宽放大收缩的比例
Bitmap resizeBmp = Bitmap.createBitmap(bitmap, 0, 0, bitmap.getWidth(), bitmap.getHeight(), matrix, true);
return resizeBmp;
}
如果图片的宽度大于了每一个tab的宽度,辣么就对图片进行缩放,默认是缩放到与tab等同宽度。朋友们能够本人定义这个缩放局限。乃至能够经历配置回调接口露出给外部配置。
//配置偏移值
imageView_offset = (width/buttonNumber-bitmap_width)/2;
//配置图片
imageView.setImageBitmap(bitmap);
//初始化图片位置
initialImageViewOffset();
配置偏移值,这个imageView_offset也是成员变量。目标是让ImageView放在tab的正中间。道理相似于下图:
然后配置bitmap,由于这个时分bitmap的宽高曾经断定了。然后调用initialImageViewOffset()要领将刚才断定的offset的值配置进入
private void initialImageViewOffset() {
//偏移值大于0则进行图片挪动
if(imageView_offset>0){
Matrix matrix = new Matrix();
matrix.postTranslate(imageView_offset, 0);
imageView.setImageMatrix(matrix);
}
}
这里对offset进行的大于0的校验,由于如上所说,如果bitmap的宽度大于tab的宽度,辣么就必要缩放到和tab同样大,这个时分offset天然即是0,就幸免了无勤奋。
增加单击事件
public void onClick(View v) {
//从目前项挪动到点击项
moveImageView(cur_index, v.getId()-ID);
//赋值目前项
cur_index = v.getId() - ID;
}
这里就能够看出用id辨别tab的甜头了。为了更利便,首先贴出moveImageView的代码
private void moveImageView(int start,int end){
//要挪动的距离
int length = (2 * imageView_offset + bitmap_width) * (end - start);
//初始位置,默认的ImageView在离左边的imageView_offset处。
int offset = (2 * imageView_offset + bitmap_width)*start;
Animation animation = new TranslateAnimation(offset, offset + length, 0, 0);
//动画收场后,View停顿在收场的位置
animation.setFillAfter(true);
animation.setDuration(300);
imageView.startAnimation(animation);
}
这里的start是指确目前的tab编号,编号是从0首先的,好比tab0、tab1、tab2。
end是指的你点击的tab编号。比方一首先我就点了tab3,辣么start=0,end=3。然后我又点了tab2,辣么start=3,end=2。
其中length是指要挪动的距离,以下图表示:
略微调查就能看出
int length = (2 * imageView_offset + bitmap_width) * (end - start);
这个关系式。而且包含了正负的情况哦。
Offset是指的动画首先的x坐标,由于刚才默认挪动了一个imageView_offset,以是每次的初始x坐标的公式为以下,也相配容易看出来
int offset = (2 * imageView_offset + bitmap_width)*start;
然后即是启动动画结果,从offset挪动到offset+length处,并配置setFillAfter(true);要领让控件在动画休止后停顿在收场的处所。
朋友们要留意动画与matrix的差别,动画只做了视觉结果的挪动,现实的ImageView并无挪动。而Matrix是挪动的ImageView
再返回看onClick要领,
public void onClick(View v) {
//从目前项挪动到点击项
moveImageView(cur_index, v.getId()-ID);
//赋值目前项
cur_index = v.getId() - ID;
}
cur_index是成员变量,初始化为0,朋友们也能够本人配置初始值,也能够配置其余tab为默认项,但是如果这样做另有两个处所必要点窜:
1、initialImageViewOffset你必要将ImageView初始化到目前的tab下。
2、moveImageView要领中的offset的计较公式也要改变。
由于每一个tab的id是经历ID+i变量的形式配置的,这儿能够干脆经历v.getId()-ID的体例找到对应的tab。这个即是我所说的利便快速的缘故。
这个只是非常简单的实现,朋友们能够丰富下,好比给button增加selector啊,增加text和监听回调啊、在底下空余的结构增加自定义的结构啊。等等等发挥的余地。对了,由于是导航,别往了增加ViewPager哦。这里由于光阴关系就不写了,朋友们本人补充吧。
上篇:上一篇:Android Actionbar回到上一级
下篇:下一篇:Android多线程的四种方法